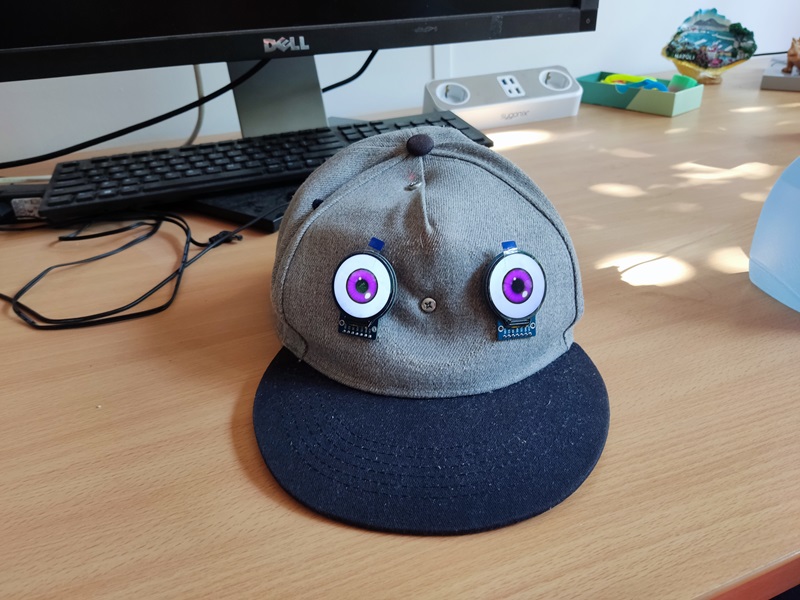
For some reason, I wanted to make a hat with an eyeball that followed your movement last year. Why? I, why kick an inflated pig intestine through an oversized tuning fork? People are just weird… me included 😛
Full details and code can be found on my Gyro Hat GitHub page.
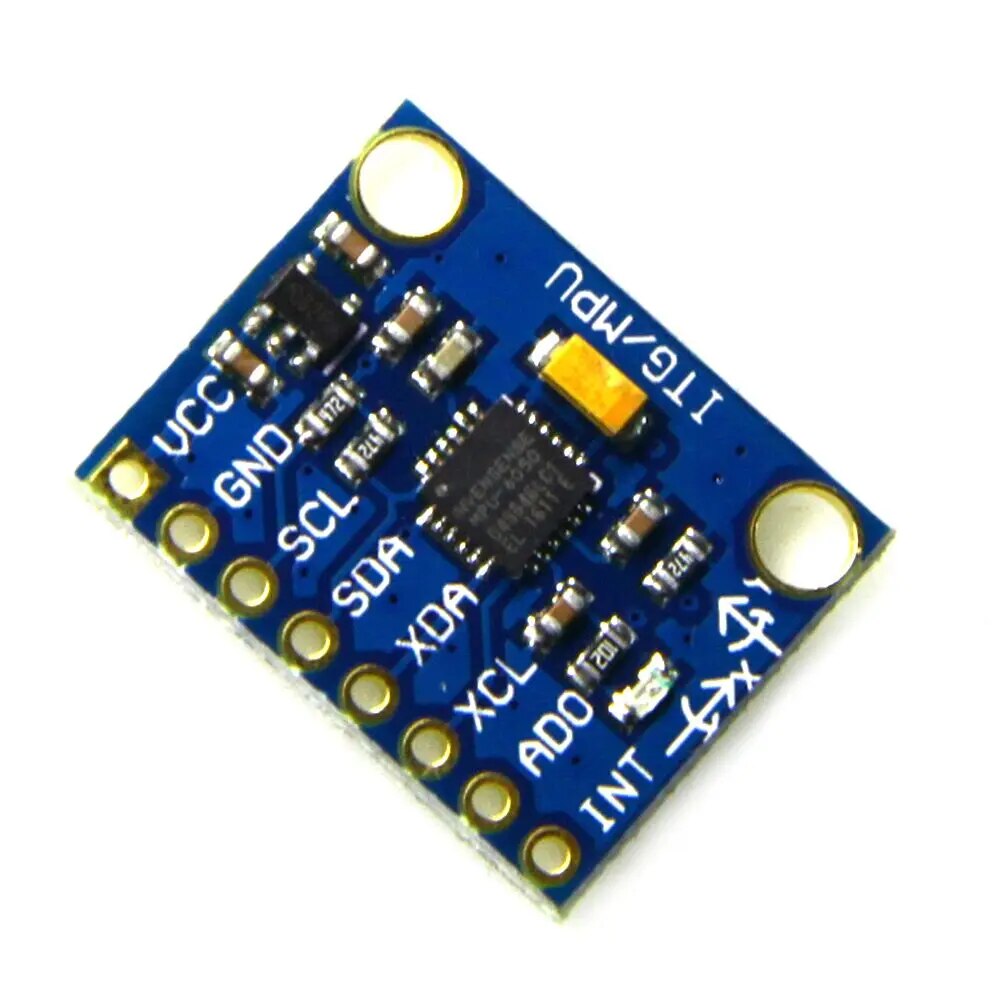
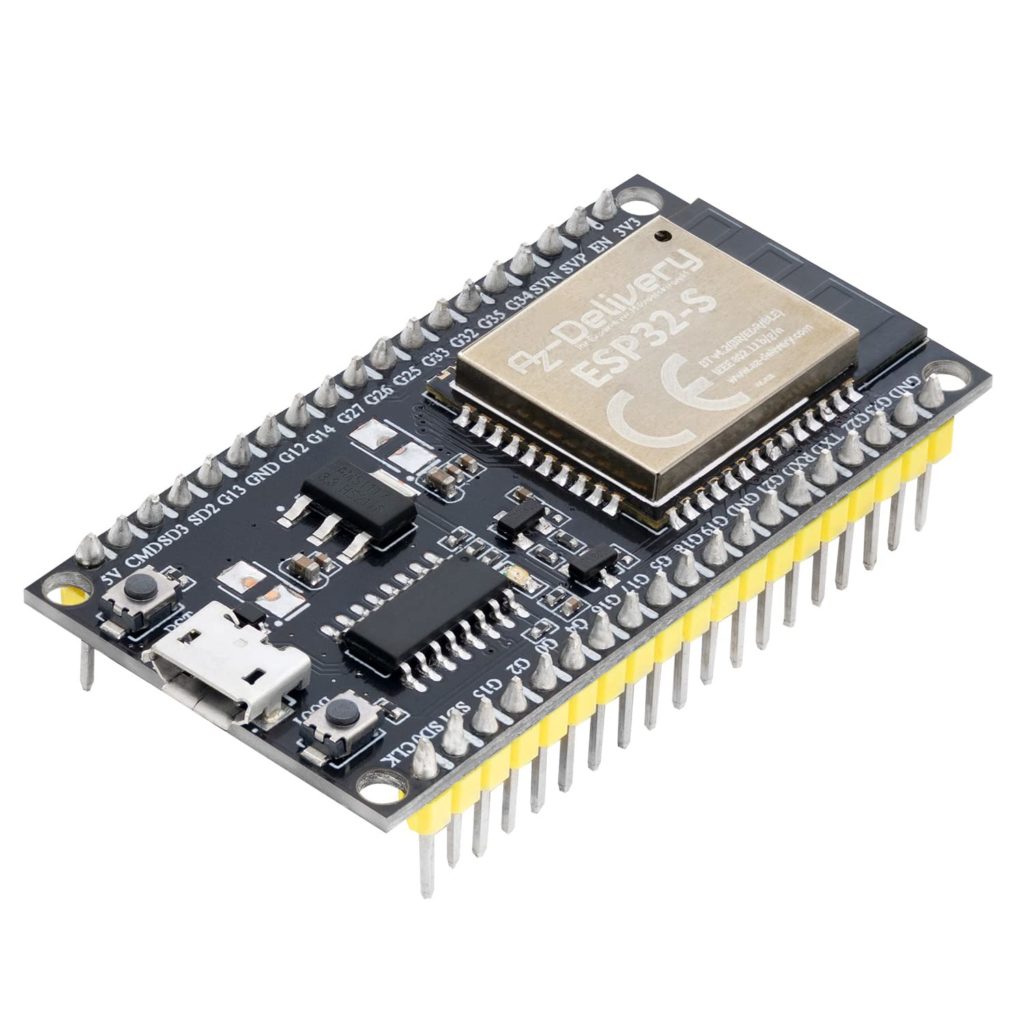
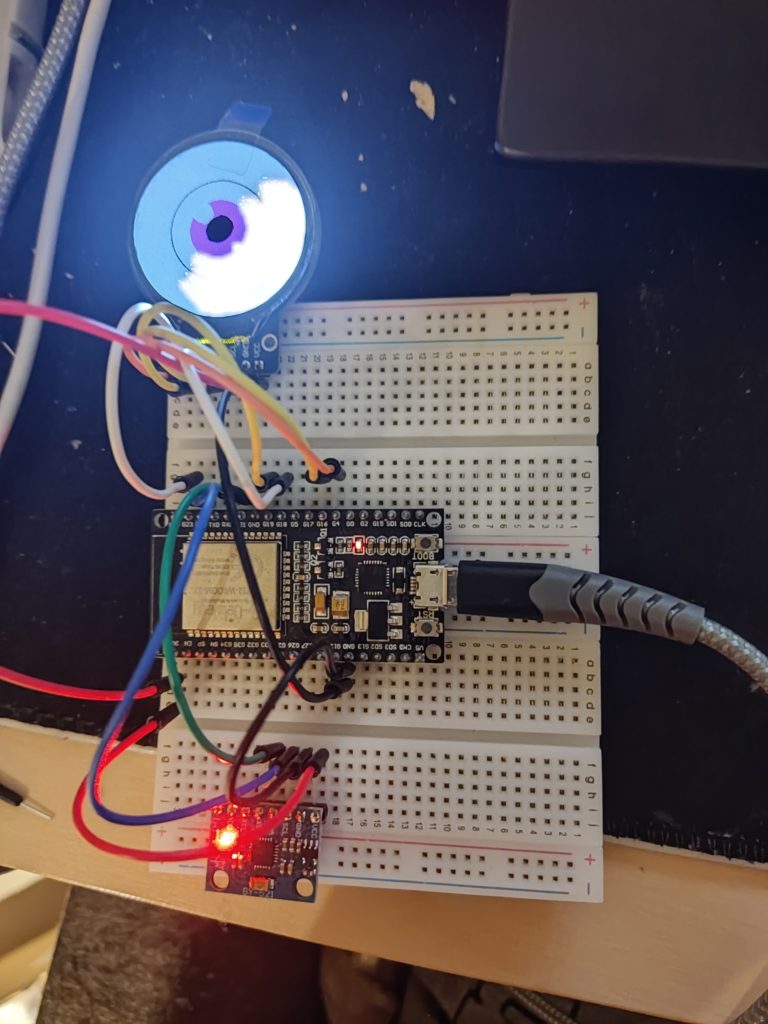
The idea mostly came after i saw these round GC9A01 based TFT display. At some point i wanted to see what these gyroscopes did so when i got a GY-521 MPU-6050 gyro/accelerometer/gravity meter module for cheap, i though this would be cool to control the TFT display. I already had an unused ESP32 lying around (if I’m honest, i have about 15 lying around now 😛 they are just too cool!) and decided to hook it all up on a breadboard.
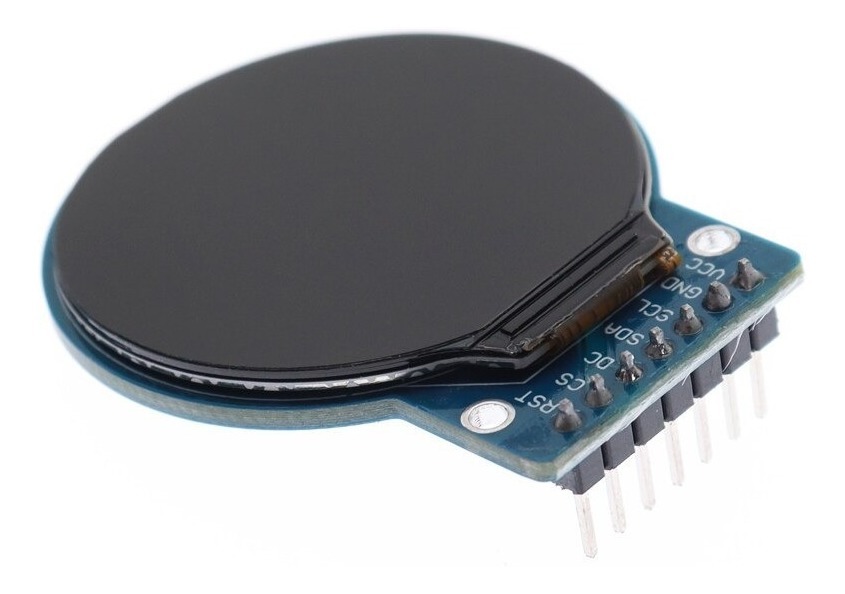
By using the Adafruit_MPU6050 library to obtain the data from the gyro, and the TFT_eSPI library to send data to the TFT display i was able to get a quick and dirty example running by figuring out some of the example data provided in both libraries. Initially i used an odometer example from the TFT_eSPI library, but quickly swapped that for an eyeball i drew in paint and converted to UTFT format using Rinky-Dinky Electronics’s web-browser applet.
The result was ”meh’, but it sorta worked. I had only implemented the X-axis coordinate to move the eye left and right… but since it worked i also added a y-axis. I updated the eyeball since it looked very flat and boring by just photo-shopping some contact-lens adds and adding some anime glare over it. I then added a second TFT screen so the final thing wouldn’t be a cyclops. Although i went the route of just duplicating the signal to both lenses, i had a brief thought of giving them separate input with some slight delay or modifier so that you would get more goofy looks and could even get cross-eyed… but since this was just a fun proof-of-concept i put that on a shelf.
Since i never removed the protective layer from the TFT’s they still had these “pull” lips on them which looked really funny, almost like eyebrows, giving this thing a very surprised look (and who blames it, i would also be surprised if someone spend his free time making a hat with eyeballs… what a weirdo)
The setup worked, although was getting very cluttered with wires everywhere. Additionally i noticed some delay artefacts in the movements and i gave it a bit too much pull towards the centre making the movements a bit too quick to notice on a hat that is already moving. Also there were some issues with smooth movements in the diagnal, sometimes it looked a bit jagged since x was resolved first and y second. I fixed all those issues in code and then moved onto the hardware.
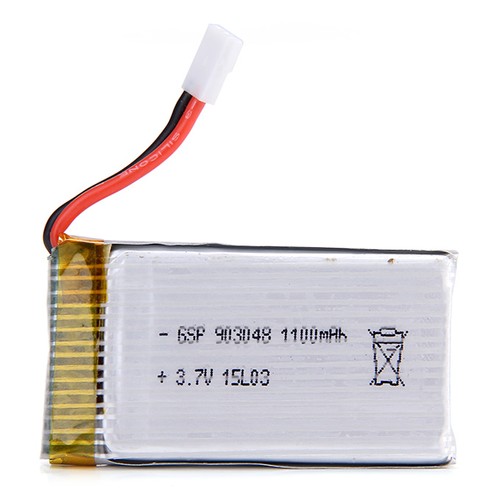
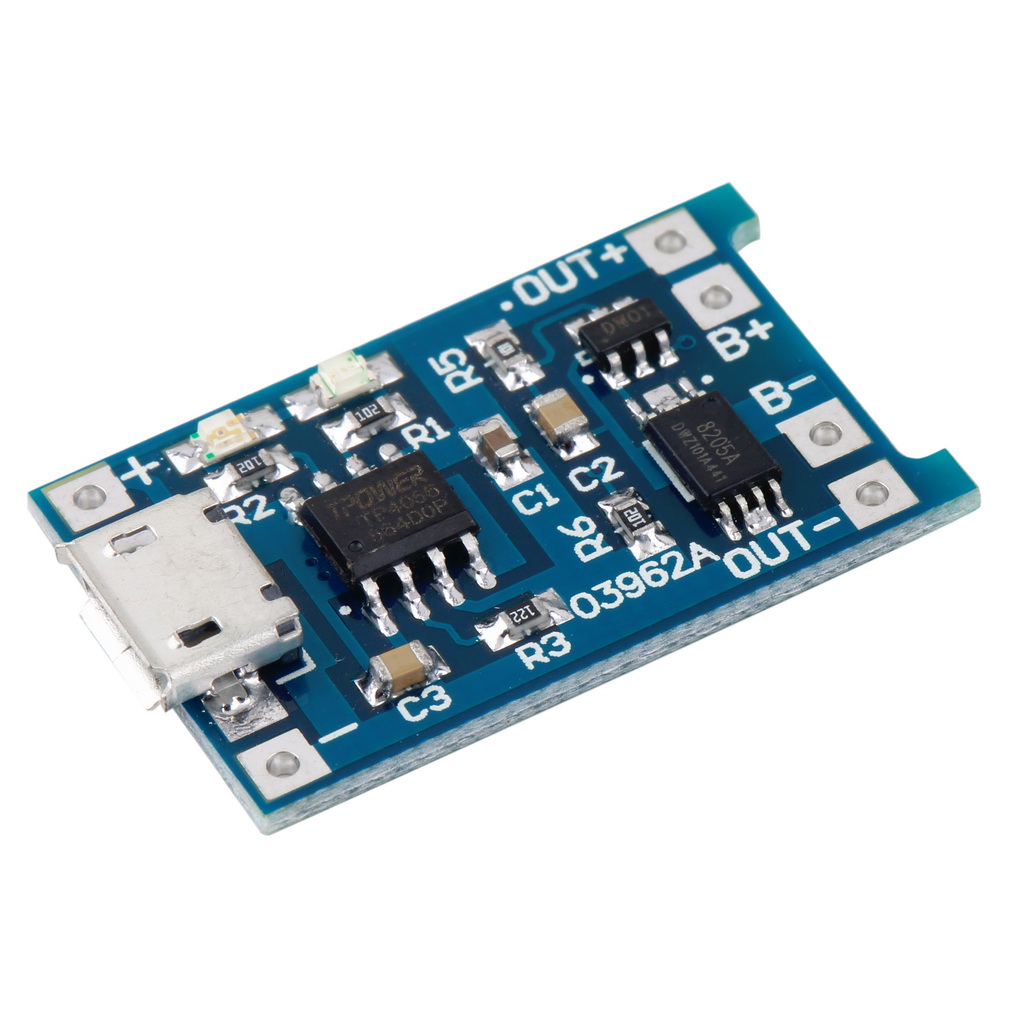
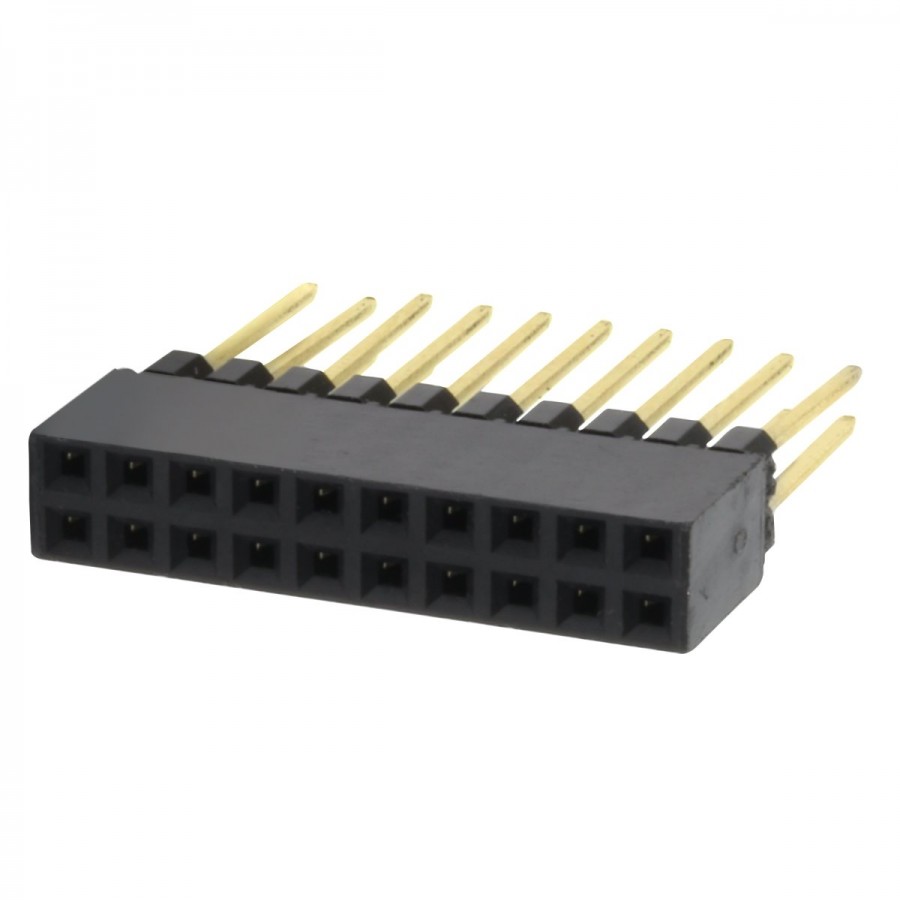
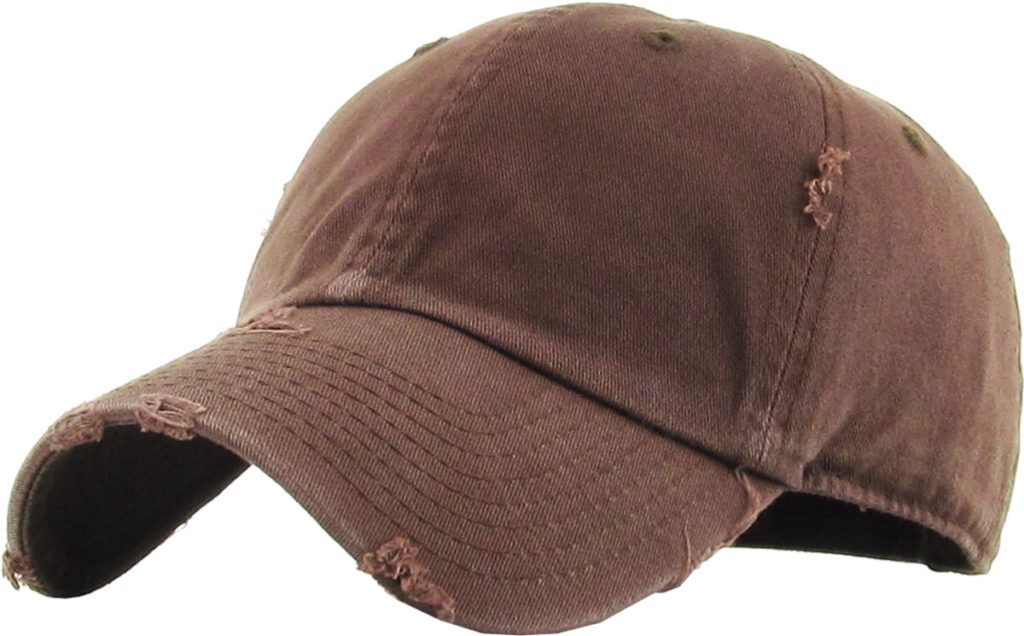
Since this thing is supposed to go into a hat, the idea was to make it portable first and then just duct tape it on if needed. Since it needed to be portable, it would need a power source. I chose a 1100mAh 3.7v Lithium battery (mostly cause it was cheap, it’s waaaay too large for this thing, could run it for a year probably), and to charge and use the battery i got a TP4056 03962A Battery charger module that takes 12V over USB-C. To smooth the output and reduce it to 3.3V (which is spec for an ESP32, either that or 5V through the 5V pin/USB port) i also added a HT7333-A 3.3V 0.25A LDO Linear Voltage Regulator, and A 100uF and 100nf capacitor. I also decided to not solder anything to the ESP32 as that is the “expensive” component, but instead i made a little breakout board from some green perf board and some pin headers. I added a little on-off switch i had lying around. And most importantly i could finally stop wearing the hat i had for 2 years and never washed… critical component to the project, the worse the hat, the better the result!


Before making the thing, i decided to jump in Fritzing (Amazing software to make this stuff with, and also somewhat easy to make your own components like the round TFT displays i made in the schematic below :D). Here i tried to figure out how i was going to make this as i’ve had a couple projects fail because i just want in without a plan.
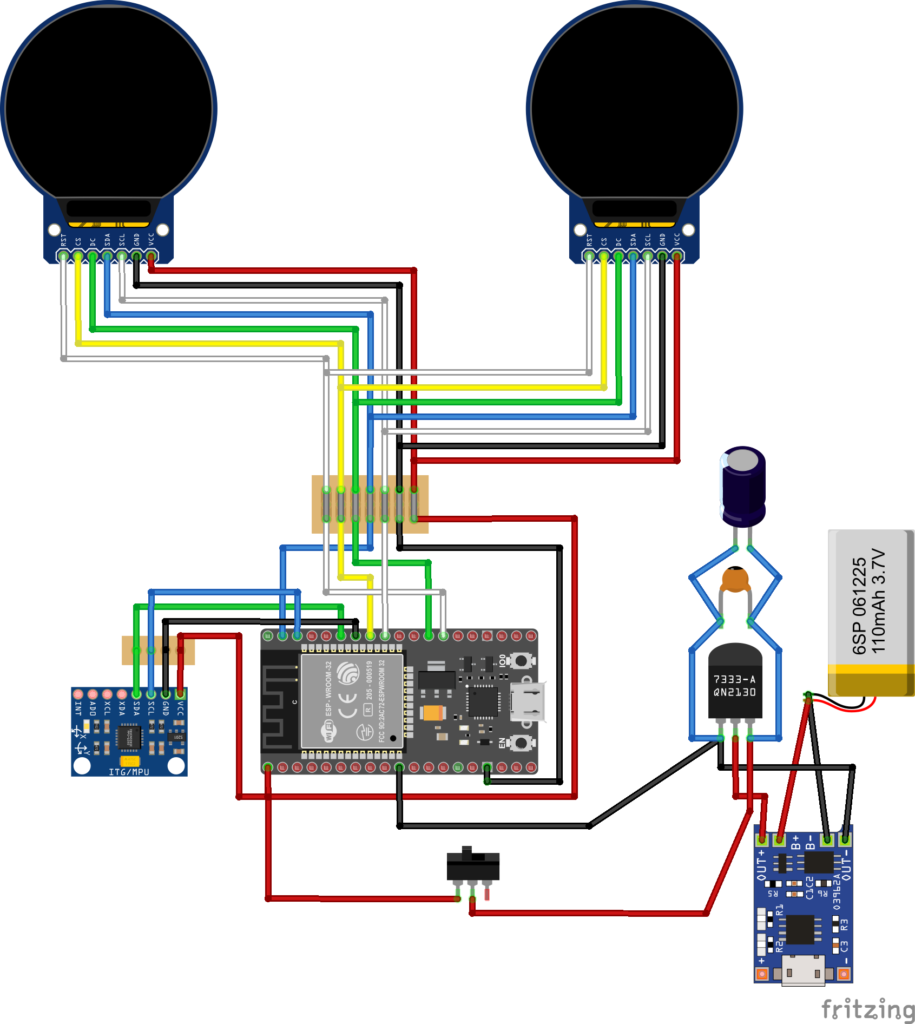
With the design done, i started soldering most of the components to the perf board except the gyro, and the TFT displays. I made sure to give the TFT’s enough wire to reach the front of the hat. Additionally i decided to make the TFTs detatchable by soldering the wires to pin headers and then i could push the TFT pins through the fabric into the headers and locking them from both sides, mostly to save the TFTs for future projects. The final result to me at least looked pretty cool. Below you can see the skeleton version of this setup and it moves as intended.
Now with the portable setup finished there was nothing left to do but to secure it to a hat. Since the eyes/TFTs were already secured the main problem was all the bulky controller and battery components. Luckily i had some Mechano parts left over and was able to make a little metal bracked (secured with the screw you can see in the picture below). That way i could screw most parts to the bracket. And it’s a large hat so there was space luckily.
Once i was finished i created a github you can visit in case you want to make something similar (or identical :P) with code, pin-out’s, part descriptions, etc. I also uploaded these vids to Youtube and was suprised that the hat itself had no views, but the other steps quickly wen to >1000 views in less than 4 hours, followed by a complete ban from YouTube for “Violating their terms of service”. Off course this was a mistake that was resolved, but who knows, in an alternate dimension i could have had a viral YT shorts vid career 😛